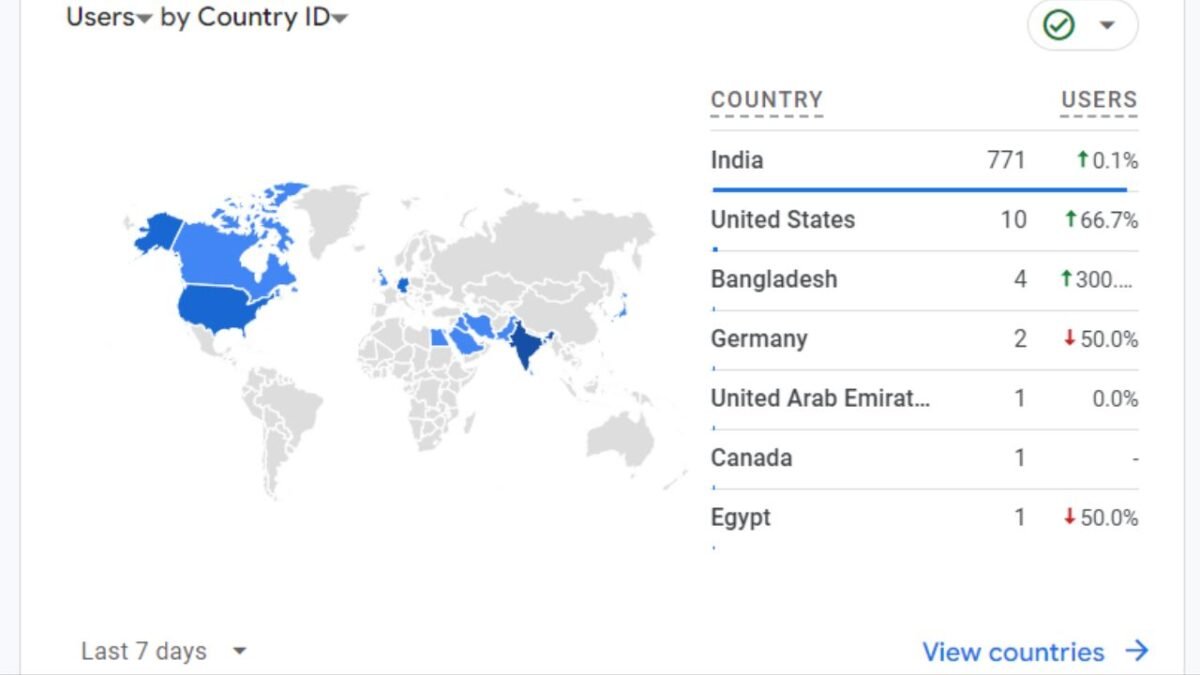
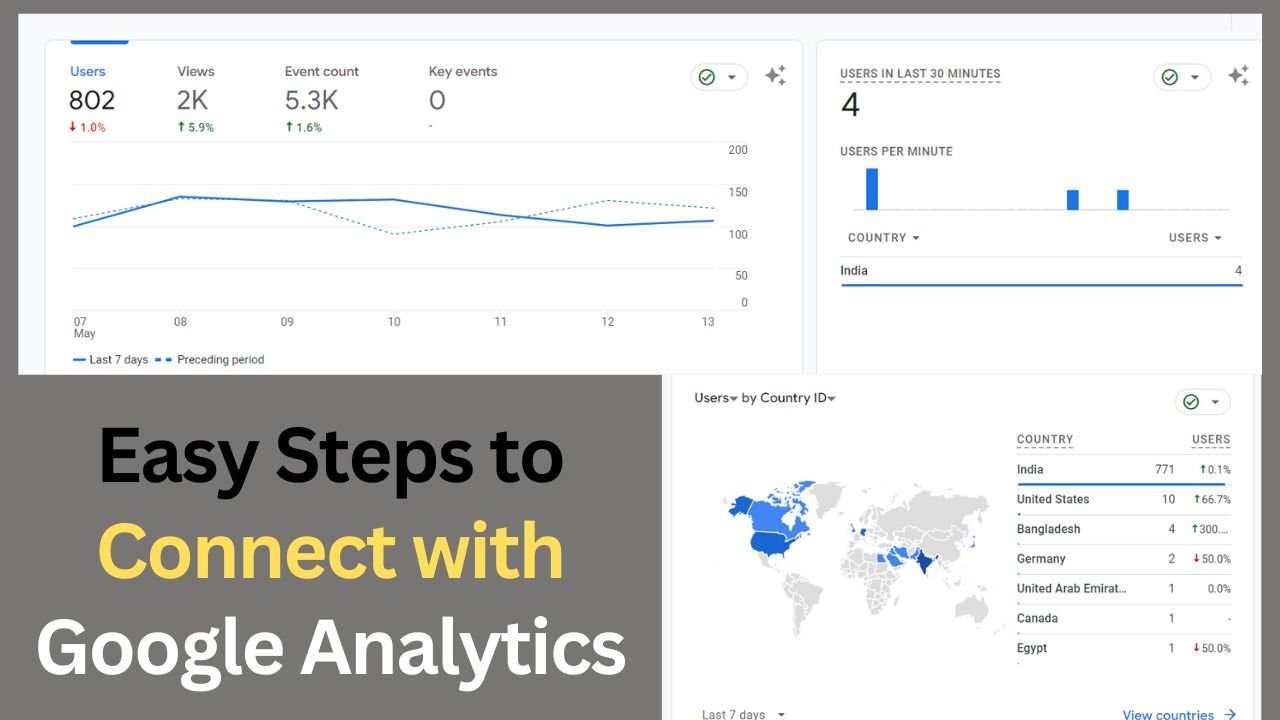
Google Analytics is a powerful tool. It provides invaluable insights of your website. Google Analytics is a service of Google. It is made for website owners to known about their website’s performance, visitor behavior, and much more. If you are not know, how to get started and How to connect Google Analytics to your website? Here, I will give you a simple step and guide that to help you to connect your website with Google Analytics.
Want to know how your website is performing on search engine? Google Analytics has your back! Follow these simple steps to link up your website and get insights like a pro.
Easy Steps to Connect with Google Analytics
Step 1: Sign Up for Google Analytics: Sign Up Head to the Google Analytics website and sign up for an account. It’s free and easy. Once you’re signed up, you’ll be prompted to create a new property, which represents your website.
Step 2: Get Your Tracking ID After creating a new property: Google Analytics will generate a unique Tracking ID for your website. This ID is crucial as it allows Google Analytics to collect data from your website and attribute it to your account. You can find your Tracking ID under the Admin section of your Google Analytics account. It typically starts with “UA-” followed by a string of numbers.
Step 3: Add the Tracking Code to Your Website: Now that you have your Tracking ID, it’s time to add the tracking code to your website. This code is a snippet of JavaScript provided by Google Analytics, and it needs to be placed on every page of your website that you want to track. You can add this code directly to the HTML of your web pages, usually within the section.
If you’re using a content management system (CMS) like WordPress or Shopify, there are often plugins or built-in features that make it easy to add Google Analytics tracking code without manually editing your website’s code.
Step 4: Verify Tracking Once you’ve added the tracking code to your website: it’s essential to verify that it’s working correctly. You can do this by visiting your website and then checking the Real-Time reports in Google Analytics. If everything is set up correctly, you should see your own visit recorded in real-time.
Step 5: Explore Google Analytics With your website connected to Google Analytics: you now have access to a treasure trove of data about your website’s performance. It take some time to explore the various reports and features available in Google Analytics. You can track metrics like website traffic, user demographics, popular pages, and much more.

See in Easy Step
- Sign Up for Google Analytics:
- Head to the Google Analytics website and sign up for a free account.
- Create a new property for your website.
- Get Your Tracking ID:
- After setting up your property, Google Analytics will give you a unique Tracking ID.
- Find this ID in the Admin section of your Google Analytics account. It usually starts with “UA-” followed by numbers.
- Add the Tracking Code to Your Website:
- Copy the tracking code provided by Google Analytics.
- Paste this code into every page of your website that you want to track, usually within the section of your HTML.
- If you’re using a CMS like WordPress or Shopify, there are plugins available to help you add the tracking code easily.
- Verify Tracking:
- Visit your website to make sure the tracking code is working correctly.
- Check the Real-Time reports in Google Analytics to see if your visit is recorded in real-time.
- Explore Google Analytics:
- Once everything is set up, go to Google Analytics and explore the various reports and features.
- Track metrics like website traffic, user demographics, and popular pages.
- Set up goals and conversions to track specific actions on your website.
How to Connect Google Analytics to website with Google Site kit?
Google Analytics is a tool that gives you insights of your website performance, visitor behavior, and more. And with Google Site Kit, connecting Google Analytics to your website is a breeze! Follow these simple steps to get started:
Step 1: Install Google Site Kit First: You’ll need to install the Google Site Kit plugin on your website. If you’re using WordPress, you can find Google Site Kit in the WordPress plugin directory. Once installed, activate the plugin.
Step 2: Connect Your Website to Google Analytics: After activating Google Site Kit, you’ll need to connect your website to Google Analytics. To do this, go to your WordPress dashboard and navigate to the Site Kit tab. Click on the “Connect Service” button next to Google Analytics.
Step 3: Sign in to Google Analytics: You’ll be prompted to sign in to your Google account. Make sure you use the same Google account that you use for Google Analytics. After signing in, Google Site Kit will ask for permission to access your Google Analytics data. Click on “Allow” to proceed.
Step 4: Choose Your Analytics Account: Once you’ve granted permission, Google Site Kit will display a list of Google Analytics accounts associated with your Google account. Select the account you want to connect to your website and click on “Proceed.”
Step 5: Grant Permissions: Google Site Kit will now ask for permission to access your Google Analytics data. Click on “Allow” to grant the necessary permissions.
Step 6: Complete the Setup: That’s it! You’ve successfully connected Google Analytics to your website using Google Site Kit. Google Site Kit will now start fetching data from Google Analytics and display it in your WordPress dashboard.
Step 7: Explore Your Analytics Data: Now that Google Analytics is connected to your website, you can start exploring your analytics data right from your WordPress dashboard. You’ll be able to see important metrics like website traffic, user demographics, popular pages, and more.

